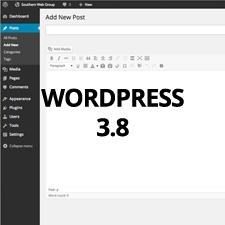


Header.php and The WordPress Header
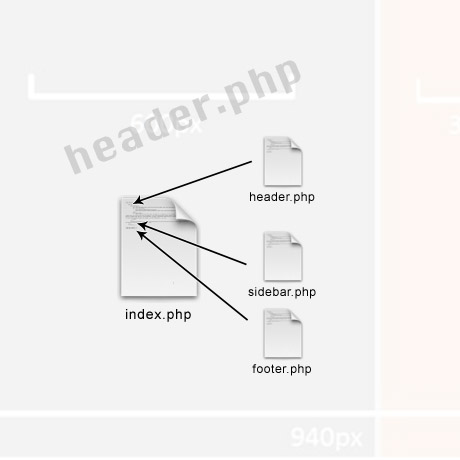
In a previous article, we ‘deconstructed’ and brokedown a basic WordPress theme into 5 sections namely: the header, the menu, the sidebar, the content, and the footer. This time we are going to dive a little deeper into one of the sections and try to dissect it a little bit more.
Here’s how we defined The WordPress Header in that article:
The header is the structure that traditionally sits at the top of a web page. It contains the title of the website. It may also be referred to as the masthead, head, title, and banner. In all WordPress Themes, the header is found within the header.php template file.
Most themes have a header image that displays at the top of the page. This image is generated by a graphic defined either in the CSS value for the property that represents the header area or through the use of a custom header feature in WordPress. In themes that don’t have the custom header image feature, you can easily define a background image for the header image using CSS. (source: CSS for Dummies)
Not to be confused with headings (more on this in the future), the WordPress header is an important and strategic element of any WordPress theme because it is the first thing the visitor sees on your site. A good header communicates and reflects the content, purpose and intention of the site. It establishes your personal brand. Much like the cover of a top selling book or magazine, the header serves as a teaser of what can be expected from the rest of the website. It should be interesting enough to encourage visitors to explore the site even further. Not all headers require pictures or images. Some websites use beautiful typography as headers and they work just as well. Cluttered headers crammed with outdated blinking gifs and ads should be avoided as they are surefire ways for visitors to hit the back button in a jiffy.
The header.php file
header.php should contain everything from the DOCTYPE tag to the end of the page’s navigation. This means that all <head> tag information, meta tags, <title> tag variables, and other information must be included in the site’s header. This template file also must contain the <?php wp_head(); ?> tag, which places valuable WordPress version-sharing information, and other website information, within the head of the document. It must be placed before the closing </head> tag. (source: speckyboy.com)
The coding experiment
The header is set in an h1 HTML tag and features one template tag used with two different options or parameters. Basically, the first one displays the URL of the website in a link, and the second one displays the name of the blog or website as set in the Administration > Settings > General panel. When the user moves the mouse over the header title, the header can be clicked to return back to the main or front page of the site as set in the Administration > Settings > General panel.
Let’s experiment a bit with this basic header code. The code below contains two sections (the head and the body)
<HTML>
<HEAD>
<TITLE>My Home Page</TITLE>
</HEAD>
<BODY>
<H1>Blogging Experiment</H1>
This is an experiment.
</BODY>
</HTML>
and it will produce something like this:
Blogging Experiment
This is an experiment.
Of course, this is just plain simple html without any CSS styling applied yet. Sample CSS code that can be applied:
#header {
background: #90a090;
border-bottom: double 3px #aba;
border-left: solid 1px #9a9;
border-right: solid 1px #565;
border-top: solid 1px #9a9;
font: italic normal 230% ‘Times New Roman’, Times, serif;
letter-spacing: 0.2em;
margin: 0;
padding: 15px 10px 15px 60px;
}
If you want to experiment a little further and test your html coding skills you can check out this nifty tool on the W3Schools website. Simply submit your code and see what happens. You can make it as simple or as complicated as you want. Check it out here: W3Schools.com Try it yourself.
Note: Many of the articles on this site include affiliate links that may earn us a commission if you decide to buy the recommended product.